DIY Composite Fencing Installation Tips and Tricks
Introduction
Installing a composite fence can be a rewarding DIY project that enhances your property’s aesthetics and security. However, it requires careful planning and execution to ensure a long-lasting and visually appealing result. This guide will provide you with a comprehensive list of useful tips for each stage of the installation process, from initial planning to post-installation care. We’ll also discuss common mistakes to avoid and offer creative solutions for challenging situations. Whether you’re a seasoned DIY enthusiast or a beginner, these tips will help you achieve professional results.
Planning Your Composite Fence Installation
Before you begin, it’s crucial to have a clear plan in place. Start by measuring the area where the fence will be installed. Use a tape measure and mark the perimeter with spray paint or stakes to get an accurate layout. Ensure that your measurements account for any gates or corners that might be required. It’s also important to check local building codes and regulations to ensure compliance. For instance, some areas may have restrictions on fence height or setback requirements. You can find detailed guidelines at your local government’s website (EPA).
Preparing the Site
Once you have your plans finalized, prepare the site by clearing any debris or obstacles. Level the ground using a rake and a string line to create a straight guideline. If necessary, dig post holes to the recommended depth, which is typically one-third the height of the fence. For example, if your fence is 6 feet tall, dig holes 2 feet deep. Avoid digging in areas with heavy clay soil, as this can cause settling issues over time. Instead, consider adding crushed stone or gravel at the bottom of the hole to improve drainage (Family Handyman).
Installing Posts and Rails
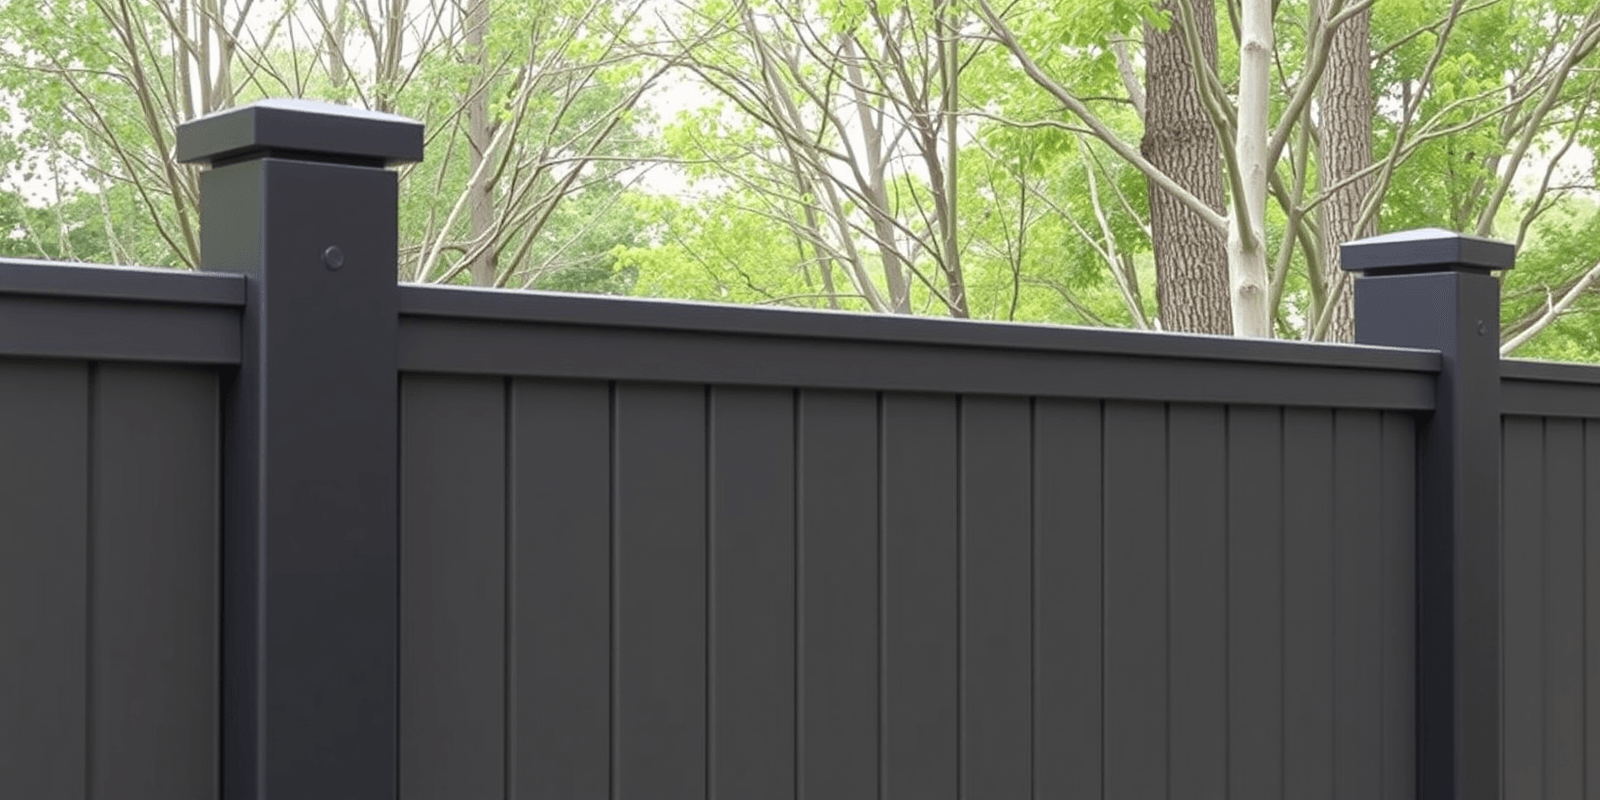
Begin by setting the posts in concrete. Place the post in the hole, ensuring it is plumb and level. Pour quick-setting concrete around the post, following the manufacturer’s instructions. Allow the concrete to cure completely before moving on to the next step. Once the posts are set, attach the rails horizontally to the posts using screws or bolts. Make sure the rails are level and securely fastened. A common mistake is not checking for levelness, which can lead to a wobbly fence. Use a level to ensure everything is perfectly horizontal and vertical (This Old House).
Installing Composite Panels
With the posts and rails in place, it’s time to install the composite panels. Start by cutting the panels to size if needed. Use a circular saw with a fine-tooth blade to make clean cuts. Attach the panels to the rails using screws, making sure they are evenly spaced and snugly fit. Be cautious not to overtighten, as this can damage the composite material. Another tip is to stagger the joints between panels to create a more aesthetically pleasing appearance. This technique helps to hide gaps and provides structural integrity (Popular Mechanics).
Maintaining Your Composite Fence
Composite fences require minimal maintenance compared to wood fences. However, regular cleaning with mild soap and water can keep them looking their best. Avoid using harsh chemicals or abrasive tools, as these can scratch or damage the surface. Additionally, inspect the fence periodically for loose hardware or damaged sections. Tightening screws and replacing any damaged components promptly can prevent further deterioration. For more information on maintaining composite materials, refer to the manufacturer’s care instructions (Home Depot).
Common Mistakes to Avoid
One of the most common mistakes is not properly leveling the ground before installing the fence. Uneven terrain can lead to misaligned panels and an unsteady structure. Another pitfall is underestimating the amount of materials needed. Always add extra panels and hardware to your shopping list to account for cuts and errors. Lastly, failing to follow the manufacturer’s installation instructions can result in a poorly constructed fence that doesn’t meet safety standards. Refer to the product manual for specific guidelines and recommendations (Bob Vila).
Conclusion
Installing a composite fence is a satisfying DIY project that can enhance your home’s curb appeal and privacy. By following these tips and tricks, you can ensure a successful installation while avoiding common pitfalls. Remember to plan thoroughly, prepare the site carefully, and maintain your fence regularly. With patience and attention to detail, you’ll have a beautiful and durable fence that will last for years to come.


Reviews
There are no reviews yet.