Installing WPC Cladding UK: A Step-by-Step Guide
Introduction
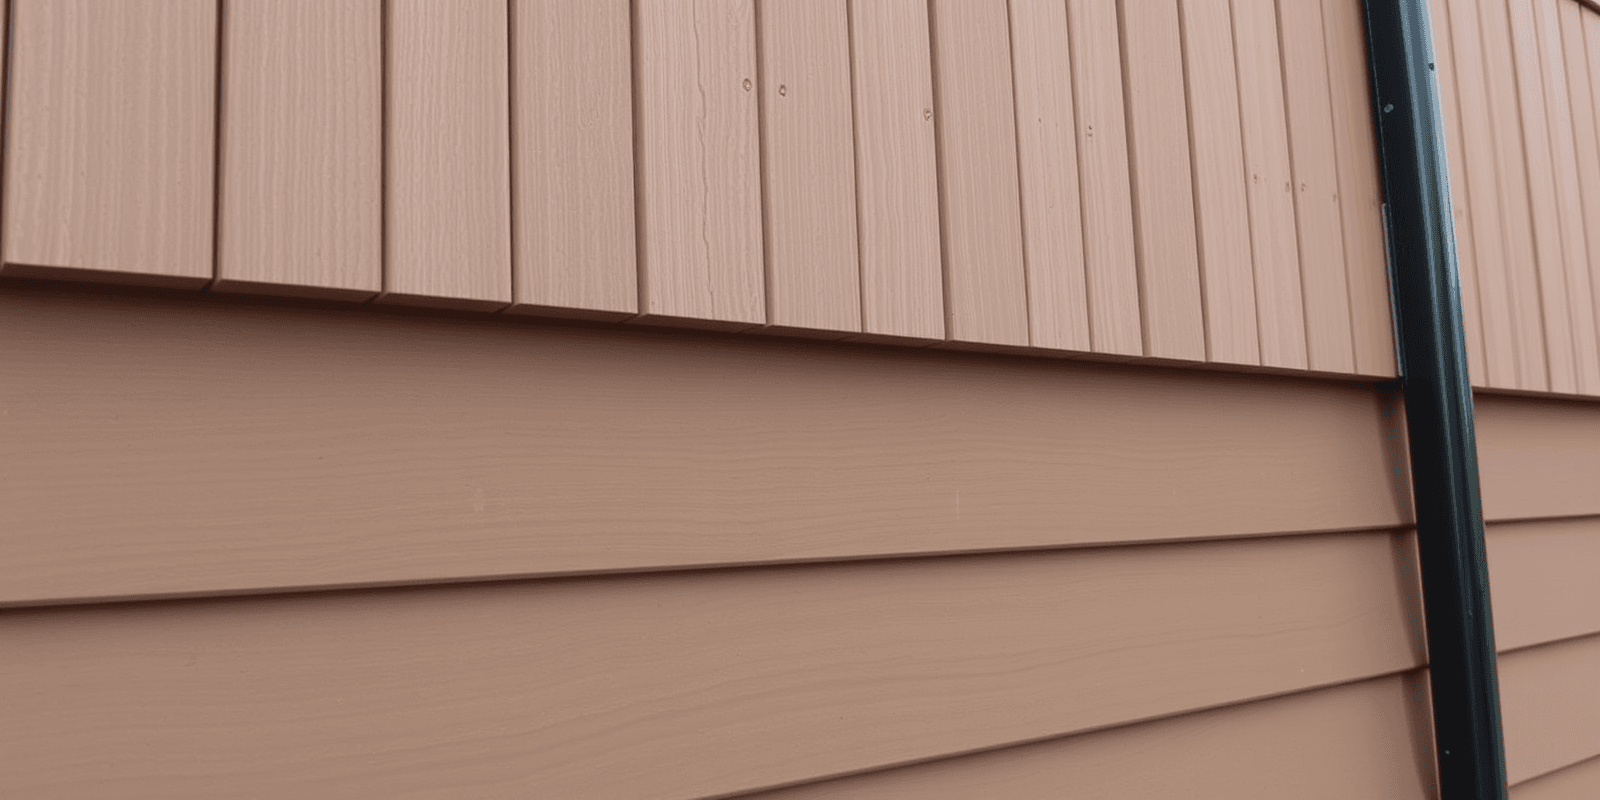
Welcome to our comprehensive guide on installing WPC (Wood Plastic Composite) cladding in the UK. WPC cladding is an excellent choice for enhancing the exterior of your home or commercial building due to its durability, low maintenance, and eco-friendly nature. This guide will walk you through every step of the process, from gathering the necessary tools to achieving a professional finish.
Necessary Tools and Materials
- WPC Cladding Panels: Choose high-quality panels that meet your design preferences and local weather conditions.
- Measuring Tape: Essential for accurate measurements.
- Level: Ensures that each panel is perfectly horizontal.
- Circular Saw or Jigsaw: For cutting panels to size.
- Screw Gun: For attaching panels securely.
- Drill: For pre-drilling holes to prevent wood from splitting.
- Starter Strip: Helps align the first row of panels.
- Fasteners: Stainless steel screws are recommended for their corrosion resistance.
- Sealant: To protect joints and edges.
Preparation Steps
- Assess Your Surface: Ensure that the wall surface is clean, dry, and free of debris. Any unevenness should be corrected before installation.
- Measure and Plan: Measure the dimensions of your wall and plan how many panels you’ll need. Allow for some extra panels in case of cuts or errors.
- Mark Guidelines: Use a level and chalk line to mark guidelines on the wall to ensure straight lines and even spacing.
Installation Process
- Install the Starter Strip: Attach the starter strip horizontally at the bottom of the wall using screws. This strip will help you align the first row of panels.
- Start Installing Panels: Begin by placing the first panel into the starter strip. Secure it with screws, making sure to leave a small gap between panels for expansion.
- Cut Panels as Needed: Use a circular saw or jigsaw to cut panels to fit around windows, doors, and corners. Pre-drill holes to prevent splitting.
- Overlap Panels: Each subsequent panel should overlap the previous one slightly to create a watertight seal. Secure with screws, leaving gaps for expansion.
- Finish the Top: Install the top trim piece to cover the last row of panels and provide a finished look. Secure it with screws.
Tips for Achieving Professional Results
- Keep It Level: Use a level frequently to ensure all rows are perfectly horizontal.
- Use Spacers: Place spacers between panels to maintain consistent gaps for expansion.
- Seal Joints: Apply a sealant along the joints and edges to enhance water resistance and longevity.
- Inspect Regularly: Check the installation periodically for any signs of wear or damage, especially after severe weather events.
Common Mistakes to Avoid
- Ignoring Weather Conditions: Do not install WPC cladding during rainy or excessively humid weather, as this can affect the adhesive properties of the fasteners.
- Not Leaving Expansion Gaps: Failure to leave adequate space for expansion can lead to warping or cracking under temperature changes.
- Using Low-Quality Fasteners: Using cheap or inappropriate fasteners can result in loose panels or rusting over time.
- Improper Cutting: Incorrect cutting techniques can lead to rough edges, which may affect the appearance and durability of the cladding.
Conclusion
Installing WPC cladding is a rewarding DIY project that can significantly enhance the aesthetic appeal and functionality of your property. By following these steps carefully and avoiding common pitfalls, you can achieve a professional-looking finish that will stand the test of time. Remember, patience and precision are key to a successful installation. Happy building!
References
For more detailed information and resources, visit the following websites:
Reviews
There are no reviews yet.