“`html
Winwood WPC Decking: The Ultimate Guide to Installation
Introduction
Welcome to the ultimate guide on how to install Winwood WPC (Wood Plastic Composite) decking. This comprehensive guide will walk you through every step of the process, from preparation to completion. Winwood WPC decking is known for its durability, low maintenance, and eco-friendly properties, making it an excellent choice for outdoor living spaces. By following these steps, you can ensure a successful installation and enjoy your new deck for years to come.
Necessary Preparations
Before diving into the installation process, it’s crucial to prepare your space adequately. Begin by selecting a level area for your deck. Ensure that the ground is stable and free of debris. If needed, use a level tool to check the surface and make any necessary adjustments. Additionally, consider the drainage of the area to prevent water accumulation under the deck, which could lead to rotting or other issues over time.
Tools Required
- Measuring tape
- Square
- Chalk line
- Drill with bits
- Impact driver
- Level
- Hammer
- Saw (circular saw or miter saw)
- Clamps
- Screwdriver
- Decking screws
- Fasteners
- Weatherproof sealant or wood preservative (optional)
Step-by-Step Installation Process
- Planning and Layout: Start by marking out the area where your deck will be built using stakes and twine. Use a chalk line to create a straight edge for your deck’s perimeter. Measure twice, cut once!
- Foundation Preparation: Depending on your location, you may need to build a foundation using concrete footings or metal posts. Ensure these are securely installed and level.
- Laying the Frame: Assemble the frame of your deck using treated lumber. Secure the corners with galvanized nails or screws. Make sure the frame is square and level before proceeding.
- Installing Joists: Place the joists perpendicular to the rim joist at the desired spacing (usually 16 inches on center). Attach them to the rim joist using appropriate fasteners. Check that they are level and secure.
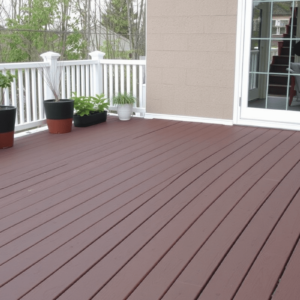
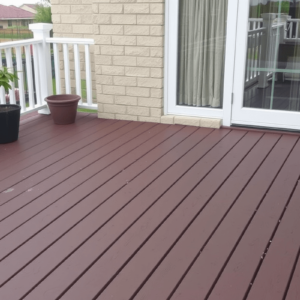
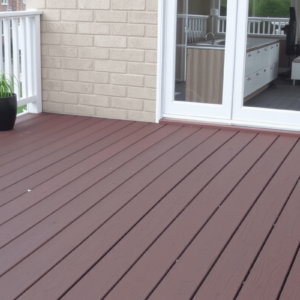
- Installing Winwood WPC Deck Boards: Begin laying the Winwood WPC deck boards starting from one end of the deck. Leave a small gap between each board to allow for expansion and contraction due to temperature changes. Secure the boards with decking screws, ensuring they are driven at an angle to avoid splitting the wood.
- Finishing Touches: Once all the deck boards are in place, apply a weatherproof sealant or wood preservative if desired. This will protect your deck from the elements and extend its lifespan. Finally, clean up the work area and inspect your deck for any loose screws or uneven boards.
Practical Advice for a Successful Installation
- Always wear protective gear such as gloves and safety glasses when working with power tools.
- Use a level frequently to ensure everything is aligned properly.
- Keep your workspace organized to avoid accidents and ensure smooth progress.
- Consult local building codes and regulations before beginning your project.
- Consider hiring a professional if you’re unsure about any part of the process.
Conclusion
Installing Winwood WPC decking is a rewarding project that can enhance the beauty and functionality of your outdoor space. By following this detailed guide, you’ll be well-equipped to tackle the job with confidence. Remember to take your time, follow best practices, and don’t hesitate to seek professional help if needed. Enjoy your new deck and the countless hours of enjoyment it will bring!
“`


Reviews
There are no reviews yet.