DIY Composite Fencing Installation Guide for Los Angeles Homeowners
Introduction
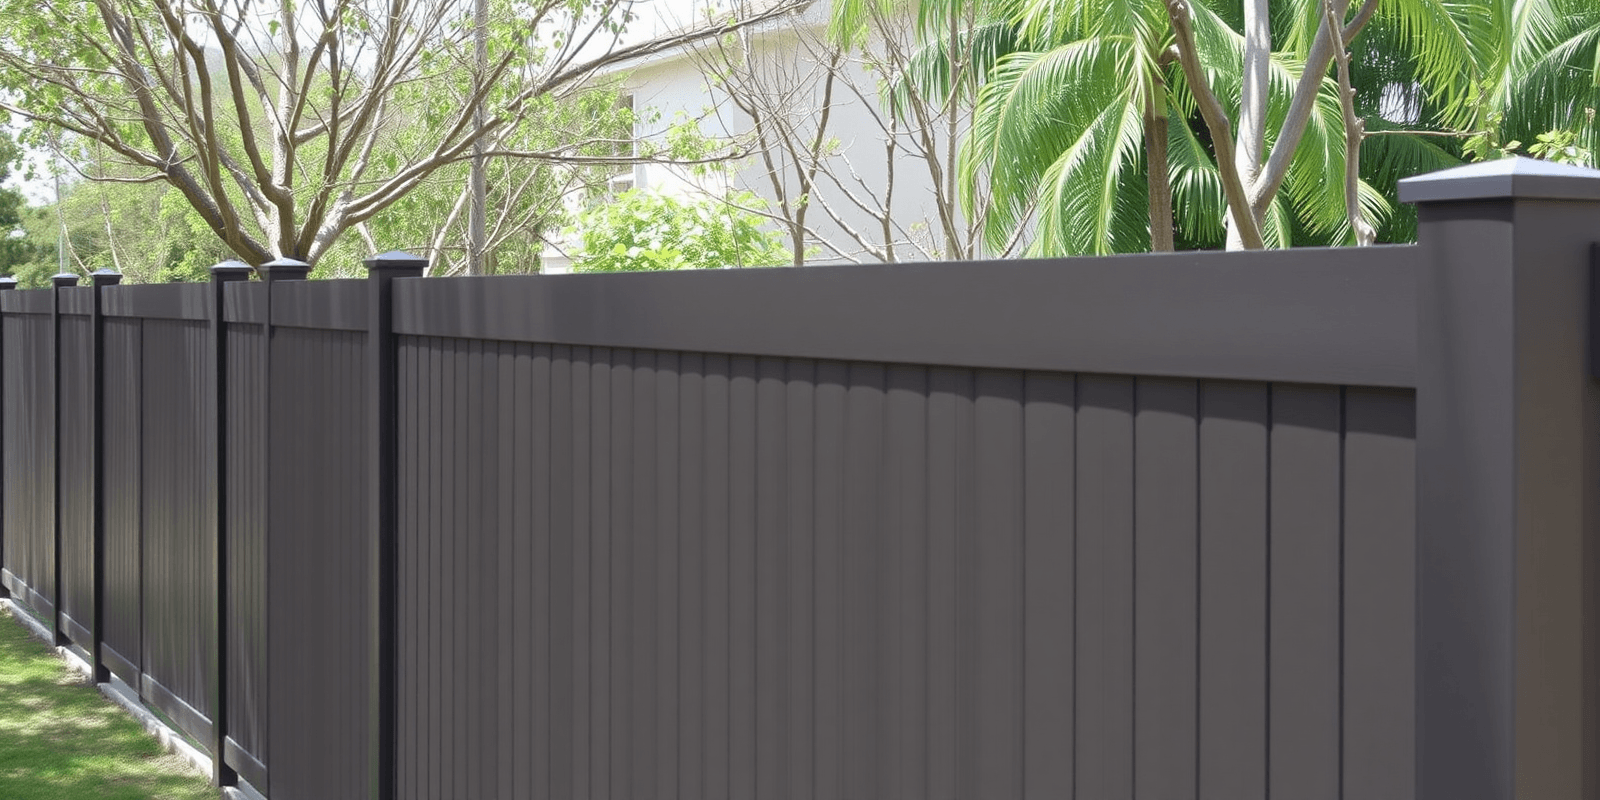
Welcome to your comprehensive guide on installing composite fencing in Los Angeles! If you’re looking to enhance the aesthetics and security of your property, a composite fence is an excellent choice. It combines the best features of wood and plastic, offering durability, low maintenance, and a natural look. This guide will walk you through selecting the right materials, gathering necessary tools, and executing each step of the installation process.
Selecting the Right Composite Material
When choosing composite fencing for your Los Angeles home, it’s crucial to consider factors such as durability, appearance, and cost. Composite materials are made from a blend of wood fibers and recycled plastics, which make them resistant to rot, insects, and weather conditions. Popular brands like Trex and TimberTech offer a wide range of colors and styles that can complement any architectural style. For Los Angeles homeowners, opt for materials with UV protection to withstand the intense sunlight and heat.
Tools Needed for Installation
To install your composite fence, you’ll need a variety of tools. Ensure you have these items ready before starting:
- Post hole digger or power auger
- Level
- Tape measure
- Hammer
- Screwdriver or drill
- Concrete mix
- Composite fence panels
- Fence posts
Step-by-Step Installation Instructions
1. Planning and Layout
The first step is to plan your fence layout. Measure your property line and mark the locations where the posts will go using stakes and string. Ensure your fence complies with local building codes and regulations. Check with your city hall for any permits required.
City of Los Angeles Planning Department
2. Digging Post Holes
Dig holes at least one-third the height of the fence below ground level. Use a post hole digger or power auger for this task. Ensure the holes are level and spaced according to manufacturer specifications, typically 8 feet apart.
3. Setting Posts
Place the posts in the holes and use a level to ensure they are plumb. Fill the holes with concrete mix, following the manufacturer’s instructions. Allow the concrete to cure for at least 24 hours.
4. Installing Panels
Attach the composite fence panels to the posts using screws or nails provided by the manufacturer. Make sure the panels are securely fastened and aligned properly. Use a level to check the alignment throughout the installation process.
5. Finishing Touches
Once all panels are installed, inspect the fence for any gaps or misalignments. Apply a sealant or stain if desired to protect the composite material from environmental damage. Regular cleaning with mild soap and water will keep your fence looking its best.
Conclusion
Installing a composite fence in Los Angeles can be a rewarding DIY project that enhances both the look and security of your property. By carefully selecting the right materials, gathering the necessary tools, and following these step-by-step instructions, you can create a durable and attractive fence that stands the test of time. Remember to consult local building codes and regulations to ensure compliance. Happy building!
Reviews
There are no reviews yet.