DIY Composite Fencing Installation Guide from Lowe’s Products
Introduction
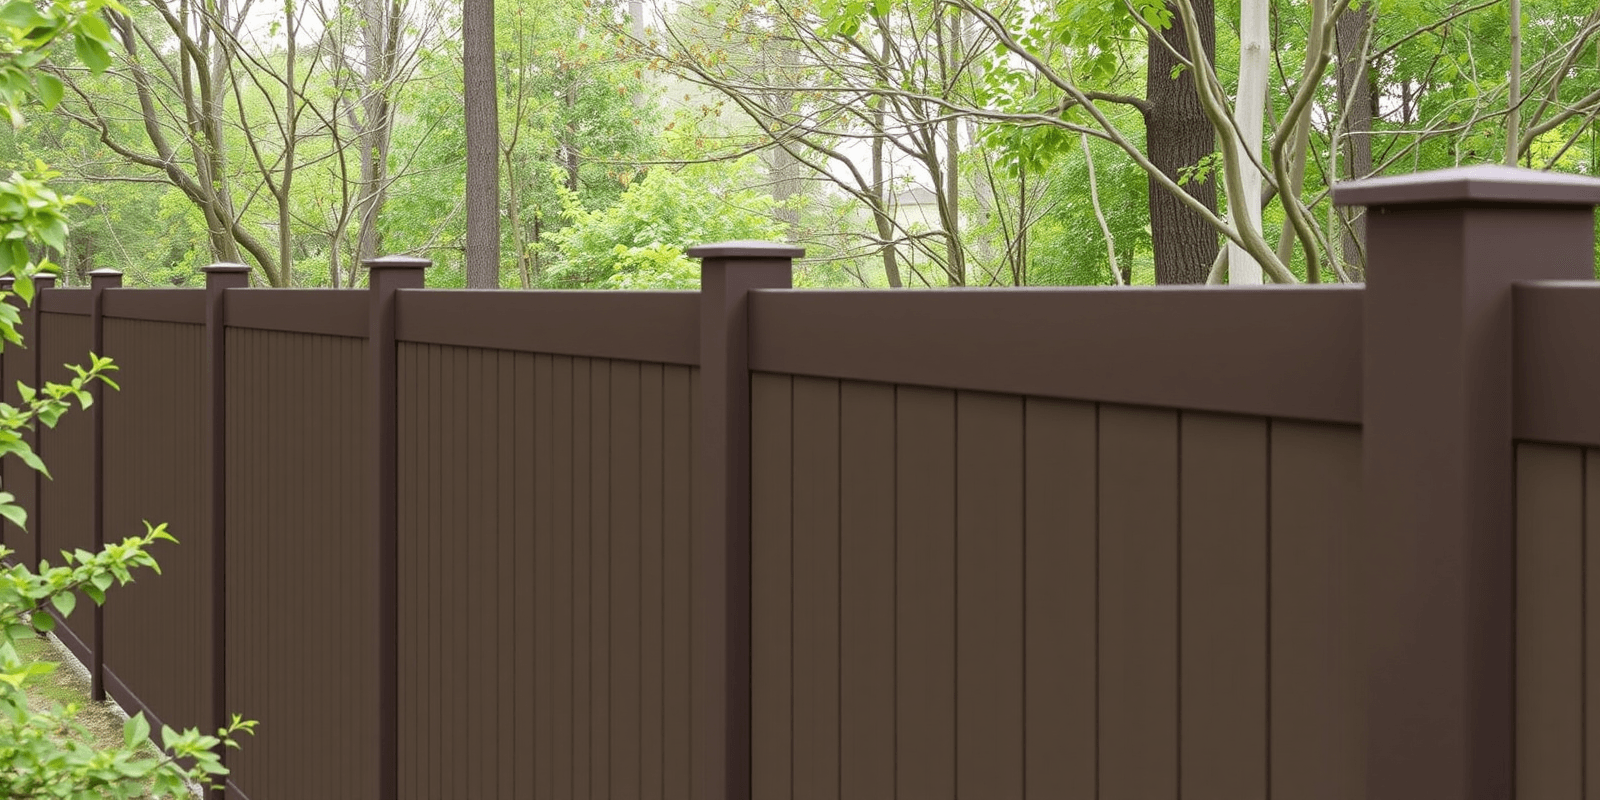
Composite fencing is an excellent option for homeowners looking for a low-maintenance, durable, and aesthetically pleasing fence. Lowe’s offers a wide range of composite fencing products that can be installed by homeowners with some basic DIY skills. This guide will provide you with all the information needed to successfully install a composite fence from Lowe’s, including necessary tools, step-by-step instructions, and tips for troubleshooting common issues.
Necessary Tools and Materials
To start your composite fencing project, you will need the following tools and materials:
- Composite fence panels from Lowe’s
- Concrete mix
- Post hole digger or auger
- Level
- Tape measure
- Shovel
- Hammer
- Safety glasses
- Gloves
- Post anchors (optional)
Step-by-Step Instructions
Step 1: Planning and Preparation
Before beginning your project, it’s essential to plan out your fence layout. Measure the area where the fence will be installed and mark the locations for each post using stakes and string. Check local building codes and obtain any necessary permits. Ensure that the ground is level and free of debris before starting.
Step 2: Digging Post Holes
Dig holes for your posts according to the manufacturer’s recommendations, typically about one-third the height of the post below ground level. Use a post hole digger or auger to create holes that are slightly wider than the post diameter. Make sure the holes are plumb and evenly spaced.
Step 3: Setting Posts
Place the posts in the holes and use a level to ensure they are straight. Fill the holes with concrete mix up to ground level, following the manufacturer’s instructions. Allow the concrete to cure for at least 24 hours before proceeding.
Step 4: Installing Fence Panels
Once the posts are set, begin installing the composite fence panels. Start at one end and work your way along the line of posts. Secure the panels to the posts using screws or brackets provided by Lowe’s. Make sure each panel is level and securely fastened.
Step 5: Finishing Touches
After installing all the panels, inspect the fence for any gaps or uneven areas. Add additional screws or brackets if necessary. Finally, clean up the work area and remove any debris.
Tips for Proper Installation
- Use a level frequently to ensure that posts and panels are straight.
- Allow the concrete to cure completely before attaching fence panels.
- Consider using post anchors for added stability, especially in areas with high winds or heavy snow loads.
- Ensure that the fence is properly secured to prevent sagging over time.
Troubleshooting Common Issues
Some common issues that may arise during installation include uneven posts, misaligned panels, and gaps between posts and panels. To address these problems, recheck your measurements and leveling, adjust the position of posts as needed, and secure any loose panels with additional screws or brackets.
Conclusion
Installing a composite fence from Lowe’s is a rewarding DIY project that can enhance the appearance and security of your property. By following this comprehensive guide and taking the necessary precautions, you can ensure a successful installation and enjoy your new fence for years to come.
Reviews
There are no reviews yet.