DIY Composite Fencing Installation Guide from Menards
Introduction
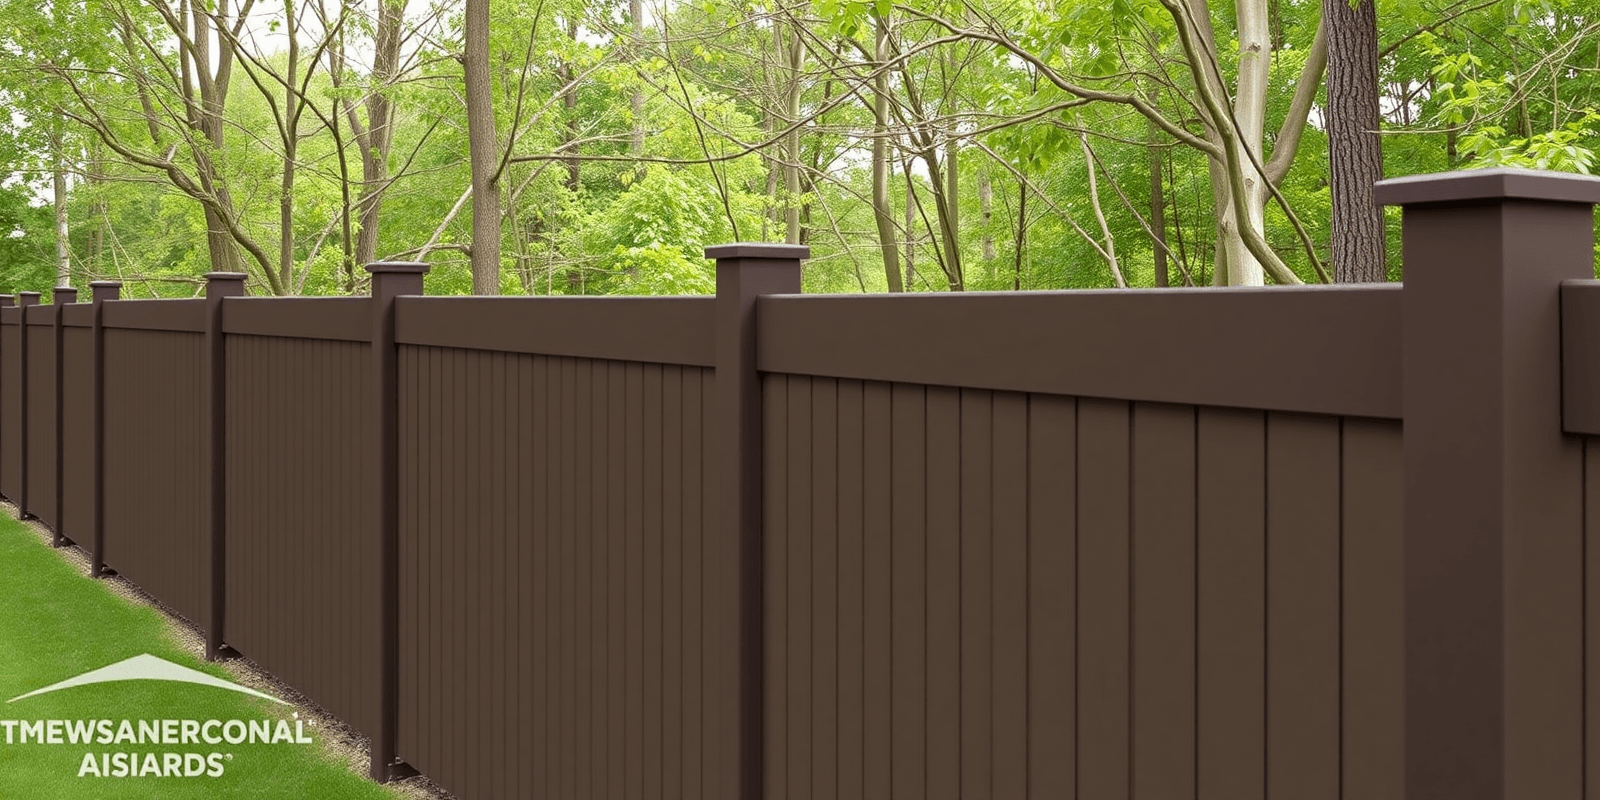
Building a fence can be a rewarding project that enhances your home’s security, privacy, and aesthetic appeal. Composite fencing from Menards offers a durable and low-maintenance option that is perfect for DIY enthusiasts. This guide will walk you through the entire process of installing a composite fence from Menards, from selecting the right materials to adding the finishing touches. We’ll also cover essential safety tips, common mistakes to avoid, and troubleshooting advice.
Selecting the Right Materials
Before starting your project, it’s crucial to choose the right materials. Menards offers a wide range of composite fencing options, including different colors, styles, and lengths. When selecting your materials, consider the following factors:
- Color: Choose a color that complements your home’s exterior.
- Style: Decide on the style that best fits your property, such as privacy, picket, or rail.
- Length: Measure your yard to determine the appropriate length for your fence panels.
Ensure you have all the necessary tools and hardware, including posts, rails, panels, screws, and post caps. Visit the Menards website for detailed product information and customer reviews.
Planning Your Fence Layout
Proper planning is key to a successful installation. Begin by marking the fence line using stakes and string. Check local building codes and regulations to ensure compliance. For example, in many areas, fences cannot exceed certain heights without requiring permits. Use a level to ensure your lines are straight and true.
Visit Menards for more information on fencing regulations and requirements.
Installing Fence Posts
Start by digging holes for your fence posts. The depth should be at least one-third the height of the post. For instance, if your fence is 6 feet tall, dig holes at least 2 feet deep. Compact the soil around each post with a tamper to prevent settling.
Use a post level to ensure each post is plumb. Secure posts with concrete, following the manufacturer’s instructions. Allow the concrete to cure before moving on to the next step. Ensure that the posts are evenly spaced according to the manufacturer’s specifications.
Adding Rails and Panels
Once your posts are securely in place, attach the rails horizontally between the posts. Use galvanized screws to fasten the rails to the posts, ensuring they are level and secure. Attach the composite panels to the rails using screws provided by Menards. Make sure each panel is flush with the others to create a seamless look.
Finishing Touches
Add post caps to the top of each post for a finished appearance. Post caps come in various styles and materials, such as plastic or metal. They not only enhance the look of your fence but also protect the tops of your posts from weather damage. Finally, apply a sealant to protect the composite material from moisture and UV rays.
Safety Tips and Common Mistakes to Avoid
When working with power tools and heavy materials, always prioritize safety. Wear protective gear, including gloves, safety glasses, and steel-toed boots. Avoid common mistakes such as improper post spacing, which can lead to uneven fencing, and insufficient concrete, which may cause posts to shift over time.
Troubleshooting Advice
Encountering issues during installation is common. If you notice any wobbling in your posts, reinforce them with additional concrete. If panels do not fit correctly, double-check measurements and adjustments. Menards’ customer service team is available to help with any questions or concerns.
Conclusion
Installing a composite fence from Menards is a project that can enhance both the functionality and appearance of your property. By carefully planning your layout, selecting high-quality materials, and following these steps, you can create a fence that will last for years to come. Remember to stay safe, avoid common pitfalls, and troubleshoot any issues that arise.
Reviews
There are no reviews yet.