DIY Composite Fencing Installation in Atlanta
Introduction
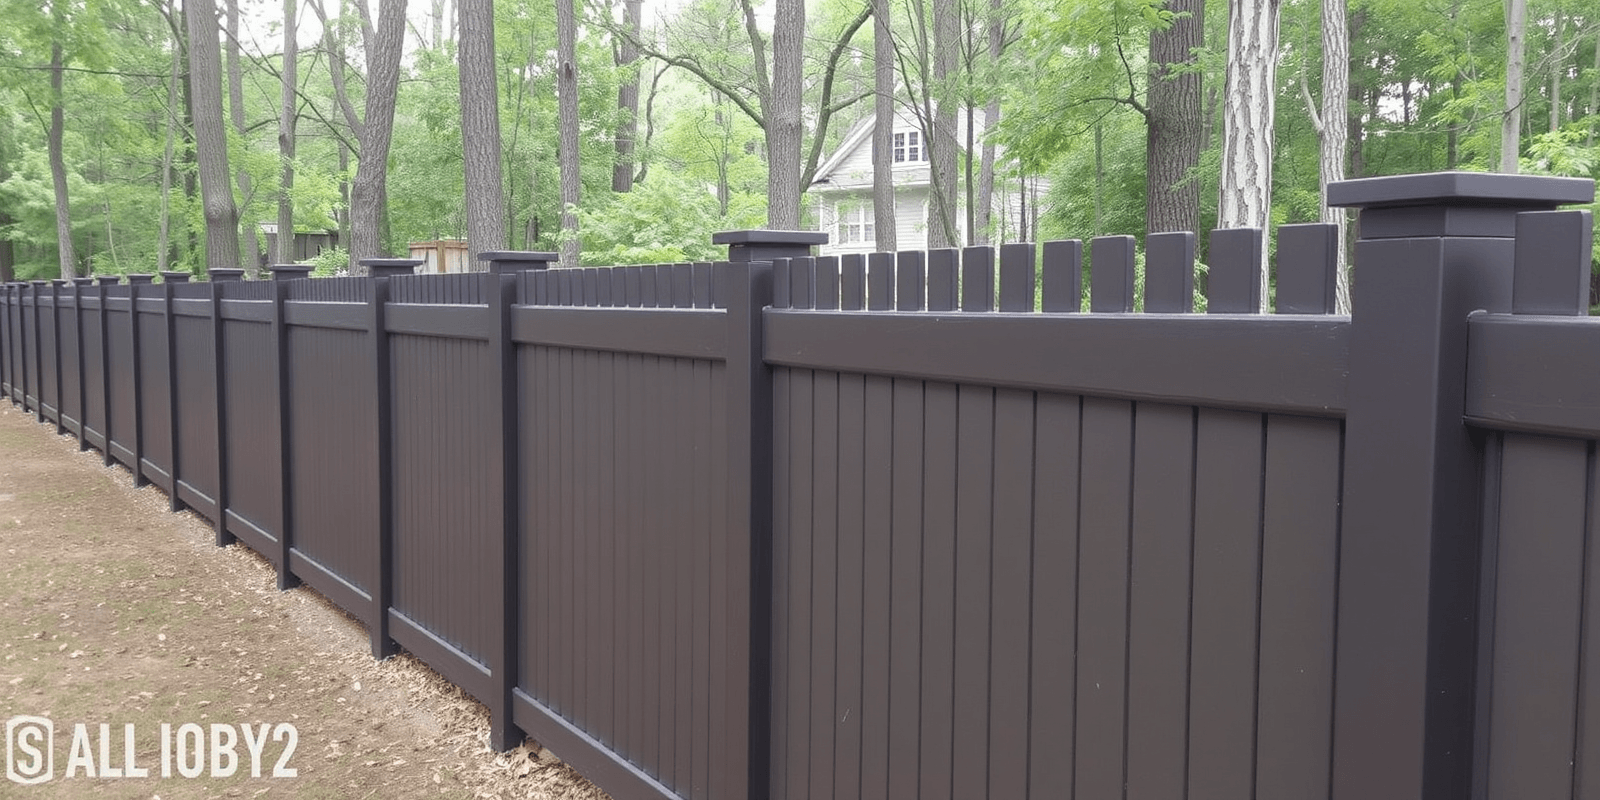
Composite fencing has become increasingly popular in Atlanta due to its durability, low maintenance, and aesthetic appeal. Installing a composite fence can be a rewarding DIY project, but it requires careful planning and execution to ensure the job is done correctly and safely. This guide will walk you through the process of installing a composite fence in Atlanta, including a list of required tools and materials, as well as essential tips for a successful installation.
Tools and Materials Needed
To install a composite fence in Atlanta, you will need the following tools and materials:
- Post-hole digger or shovel
- Level
- Measuring tape
- Concrete mix
- Composite fence panels
- Composite fence posts
- Screws and brackets
- Post caps (optional)
- Work gloves and safety glasses
Step-by-Step Guide to Installing Composite Fencing in Atlanta
Planning Your Fence Layout
Before beginning your project, carefully plan the layout of your fence. Consider any obstacles such as trees, utility lines, and existing structures. Measure the total length of your fence and determine the number of posts needed based on the manufacturer’s recommendations. Typically, posts should be spaced 8 feet apart for optimal stability.
Digging Post Holes
Use a post-hole digger or shovel to dig holes for your fence posts. The depth of the hole should be approximately one-third the height of the post. For instance, if your posts are 8 feet tall, dig the holes 32 inches deep. Ensure that the holes are wide enough to accommodate the post and concrete.
Setting Posts in Concrete
Once the holes are dug, set the posts in concrete. Mix the concrete according to the manufacturer’s instructions and pour it into the holes. Use a level to ensure that the posts are perfectly vertical. Allow the concrete to cure for at least 24 hours before proceeding with the next steps.
Installing Fence Panels
After the posts have cured, attach the composite fence panels to the posts using screws and brackets. Start from one end of the fence and work your way along, ensuring that each panel is securely fastened. Use a level to check that each section of the fence is straight.
Finishing Touches
Once all the panels are installed, consider adding post caps for an additional decorative touch. Post caps can also help protect the top of the posts from weather damage. Inspect your fence for any loose screws or brackets and tighten them as needed.
Tips for Ensuring a Successful Installation
- Always wear work gloves and safety glasses during the installation process to protect yourself from injury.
- Consult local building codes and regulations to ensure that your fence meets all necessary requirements.
- Consider hiring a professional if you encounter any unexpected challenges or complications during the installation process.
Conclusion
Installing a composite fence in Atlanta can enhance the appearance and security of your property. By following this step-by-step guide and utilizing the recommended tools and materials, you can successfully complete your DIY composite fencing project. Remember to prioritize safety and consult professionals when needed to ensure a long-lasting and beautiful fence.
Reviews
There are no reviews yet.