Installing Durapost Composite Fencing: Step-by-Step Guide
Introduction
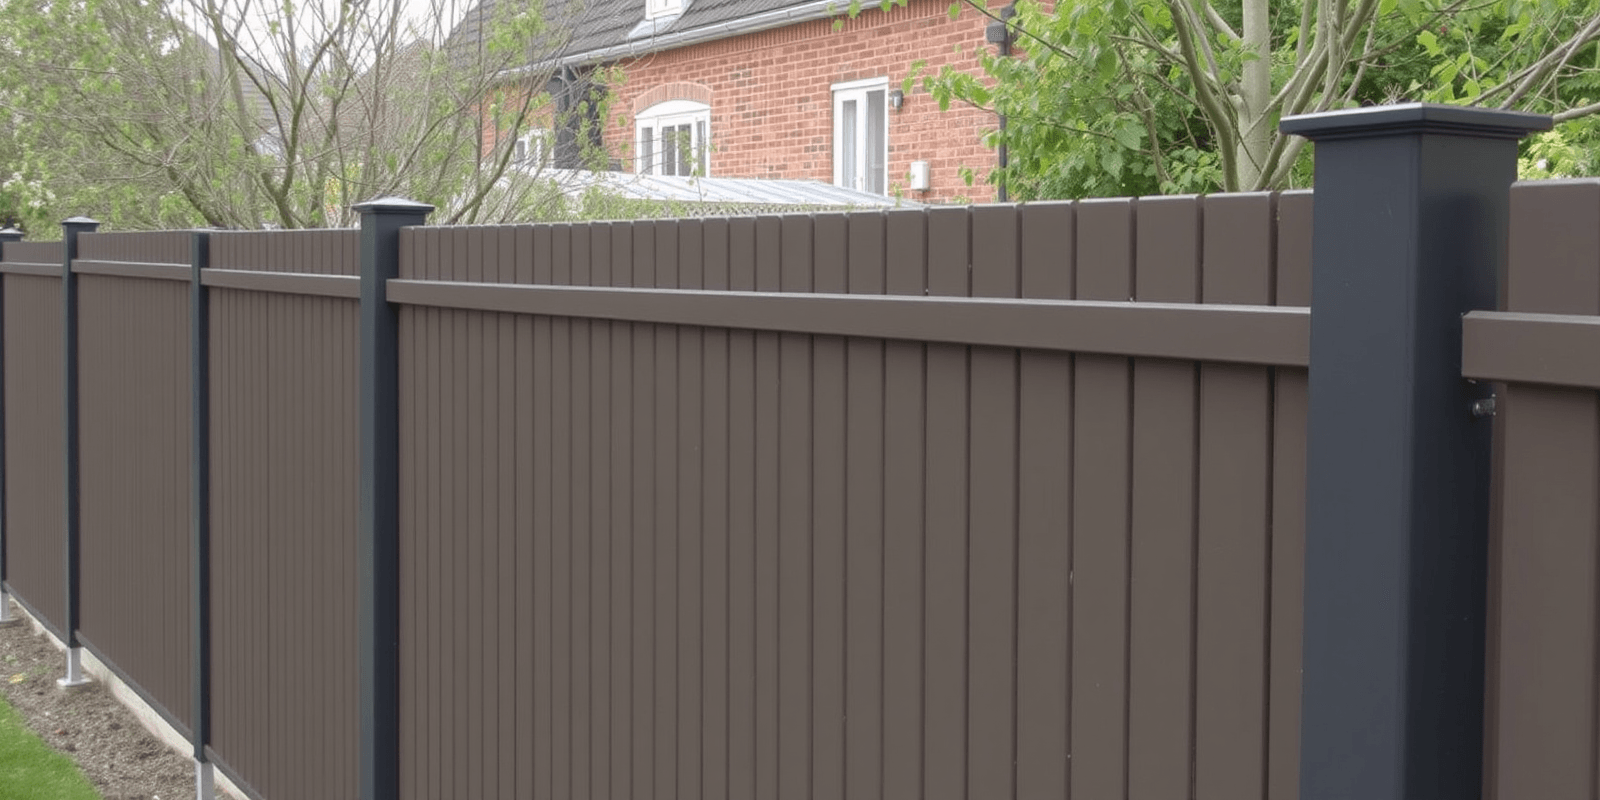
Durapost composite fencing is an excellent choice for homeowners looking for a durable, low-maintenance, and aesthetically pleasing fence option. This guide aims to provide a comprehensive walkthrough of the installation process, ensuring that DIY enthusiasts can successfully create a functional and attractive fence. The following sections will cover essential steps, from choosing the right materials to securing panels in place.
Choosing the Right Materials
Before starting the installation, it’s crucial to choose the appropriate Durapost composite fencing materials. You should consider the fence’s purpose, such as privacy or security, as well as its location. Durapost fencing is known for its durability and resistance to rot, insects, and weathering. Selecting the correct type of post and panel is key to achieving a long-lasting and visually appealing fence.
For a detailed guide on selecting materials, you can refer to the official Durapost website or consult with a professional installer. Ensure that all components are compatible and meet your specific needs. Additionally, purchasing materials from reputable suppliers will ensure that you receive high-quality products.
Preparing the Site
The next step is to prepare the area where the fence will be installed. This includes clearing the ground of any debris, vegetation, or obstacles. Use a level to ensure that the ground is even, which will help prevent uneven posts and panels later on. Mark out the position of each post using stakes and string, ensuring they are spaced correctly according to the manufacturer’s recommendations.
Excavate holes for the posts, making them deep enough to accommodate the required depth for stability. Typically, holes should be at least one-third the height of the posts. For more information on hole depth and spacing, refer to the Durapost installation manual or consult with a professional.
Setting Posts
Once the holes are dug, it’s time to set the posts. Begin by placing the posts into the holes and checking their alignment with a level. Adjust as necessary before backfilling the holes with concrete. Pour the concrete slowly, ensuring it settles around the post without creating air pockets. Allow the concrete to cure for at least 24 hours before proceeding to the next step.
For additional support, you can use braces or temporary supports to keep the posts straight while the concrete sets. This is particularly important if you’re working in windy conditions or if the soil is soft. Make sure the posts are plumb and secure before moving forward.
Securing Panels
After the posts have cured, it’s time to attach the panels. Start by aligning the first panel with the posts and attaching it using screws or clips provided by the manufacturer. Ensure that the panels are level and evenly spaced. Continue this process until all panels are securely attached.
To ensure a tight fit, you may need to adjust the spacing between posts slightly. Use a tape measure to check the distance between each post and make minor adjustments as needed. Once all panels are in place, inspect the fence for any gaps or misalignments and make final adjustments as necessary.
Finishing Touches
With the fence now in place, add any finishing touches such as caps on top of the posts for added aesthetics and protection against water damage. Inspect the entire fence for any loose screws or connections and tighten them as needed. Apply a sealant or paint if desired to further enhance the fence’s appearance and longevity.
For more tips on finishing touches, you can visit websites like DIY Network or consult with a professional contractor. These resources often provide valuable insights and additional tips for completing your project.


Reviews
There are no reviews yet.