Picnic Table from Composite Decking
Introduction
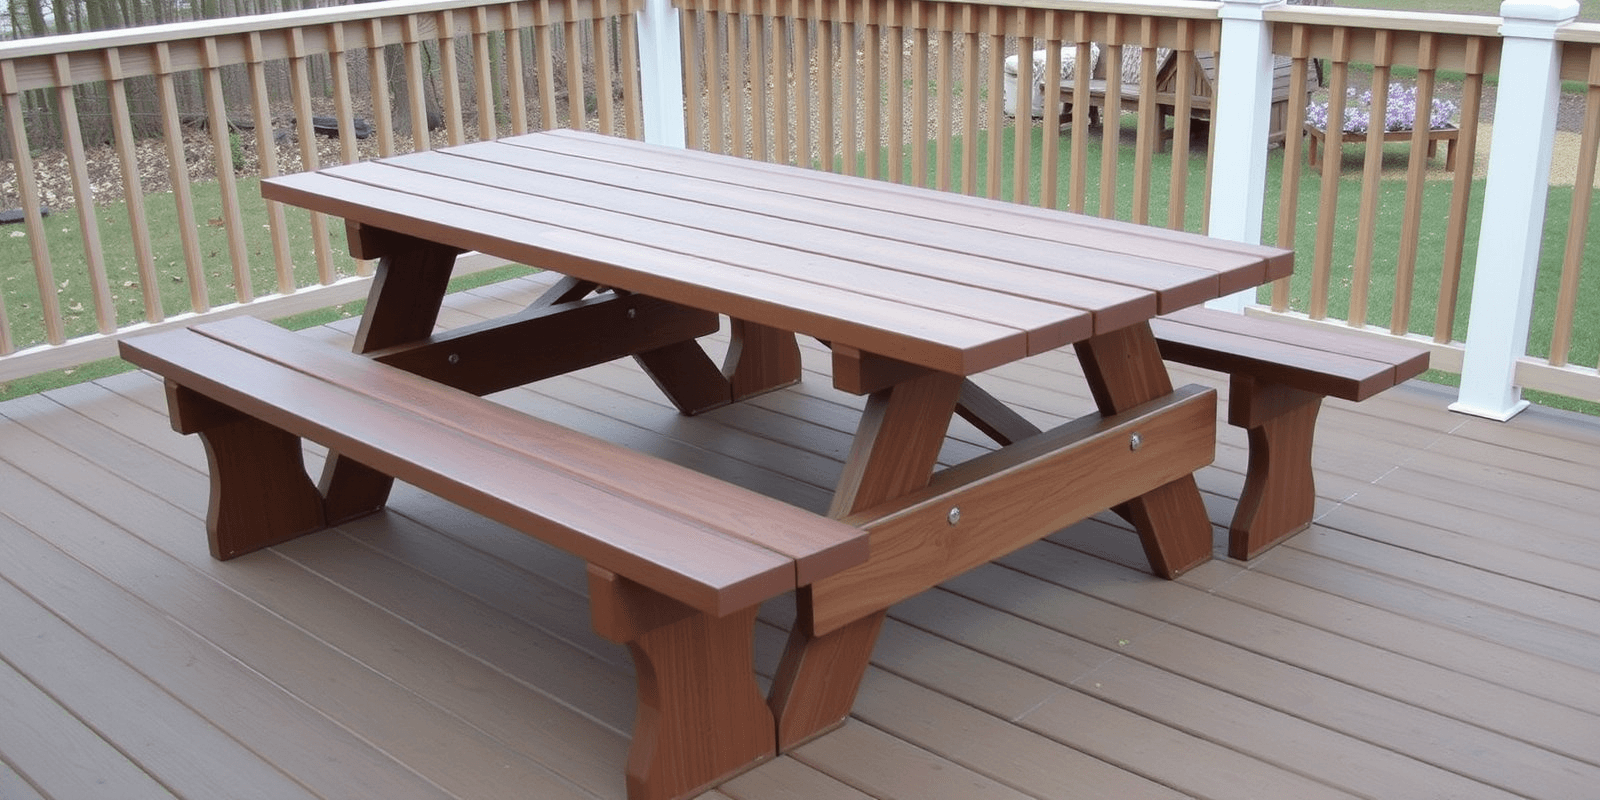
Building your own picnic table is not only a rewarding DIY project but also an excellent way to enhance your outdoor living space. Composite decking offers a durable, low-maintenance option for constructing a picnic table that can withstand the elements and last for years. This article will guide you through the step-by-step process of building a picnic table from composite decking, including essential tips on selecting the right materials, tools needed, and maintenance advice.
Selecting the Right Materials
When choosing composite decking for your picnic table, look for boards that are specifically designed for exterior use and have a high resistance to moisture, stains, and fading. Brands like Trex and TimberTech offer excellent options. It’s crucial to select boards with consistent color and texture for a polished finish. Additionally, consider purchasing composite screws and hidden fasteners to ensure a smooth surface and prevent splinters.
Tools Needed
To build a picnic table from composite decking, you’ll need a variety of tools, including a circular saw or miter saw for cutting the boards to size, a drill for attaching the hardware, a jigsaw for making curved cuts if desired, and a level to ensure everything is straight. Don’t forget safety gear such as gloves, goggles, and ear protection.
Step-by-Step Process
Step 1: Design Your Picnic Table
Before starting, sketch out your design on paper or using software like SketchUp. Determine the dimensions based on the number of seats you want and the available space in your backyard.
Step 2: Cut the Boards
Using your saw, cut the composite boards according to your design specifications. Ensure all cuts are straight and clean to avoid uneven surfaces.
Step 3: Assemble the Frame
Start by assembling the frame of the table. Use composite screws and hidden fasteners to attach the legs to the tabletop and benches securely. Make sure everything is level and square.
Step 4: Add Support Beams
Add support beams under the tabletop and benches for added stability. These should be attached using appropriate fasteners to ensure the structure can hold up to regular use.
Step 5: Finishing Touches
Once the main structure is assembled, add any finishing touches such as armrests or decorative elements. Sand down any rough edges and apply a sealant to protect the wood from moisture and UV rays.
Maintenance Advice
Maintaining your composite picnic table is relatively simple. Regularly clean it with mild soap and water to remove dirt and debris. Avoid using harsh chemicals or abrasive cleaners that could damage the surface. Periodically check all connections and tighten any loose screws to keep the table sturdy over time.
Conclusion
Building a picnic table from composite decking is a fantastic project that combines functionality with durability. By following these steps and tips, you can create an inviting outdoor seating area that will provide years of enjoyment with minimal upkeep.
Reviews
There are no reviews yet.