“`html
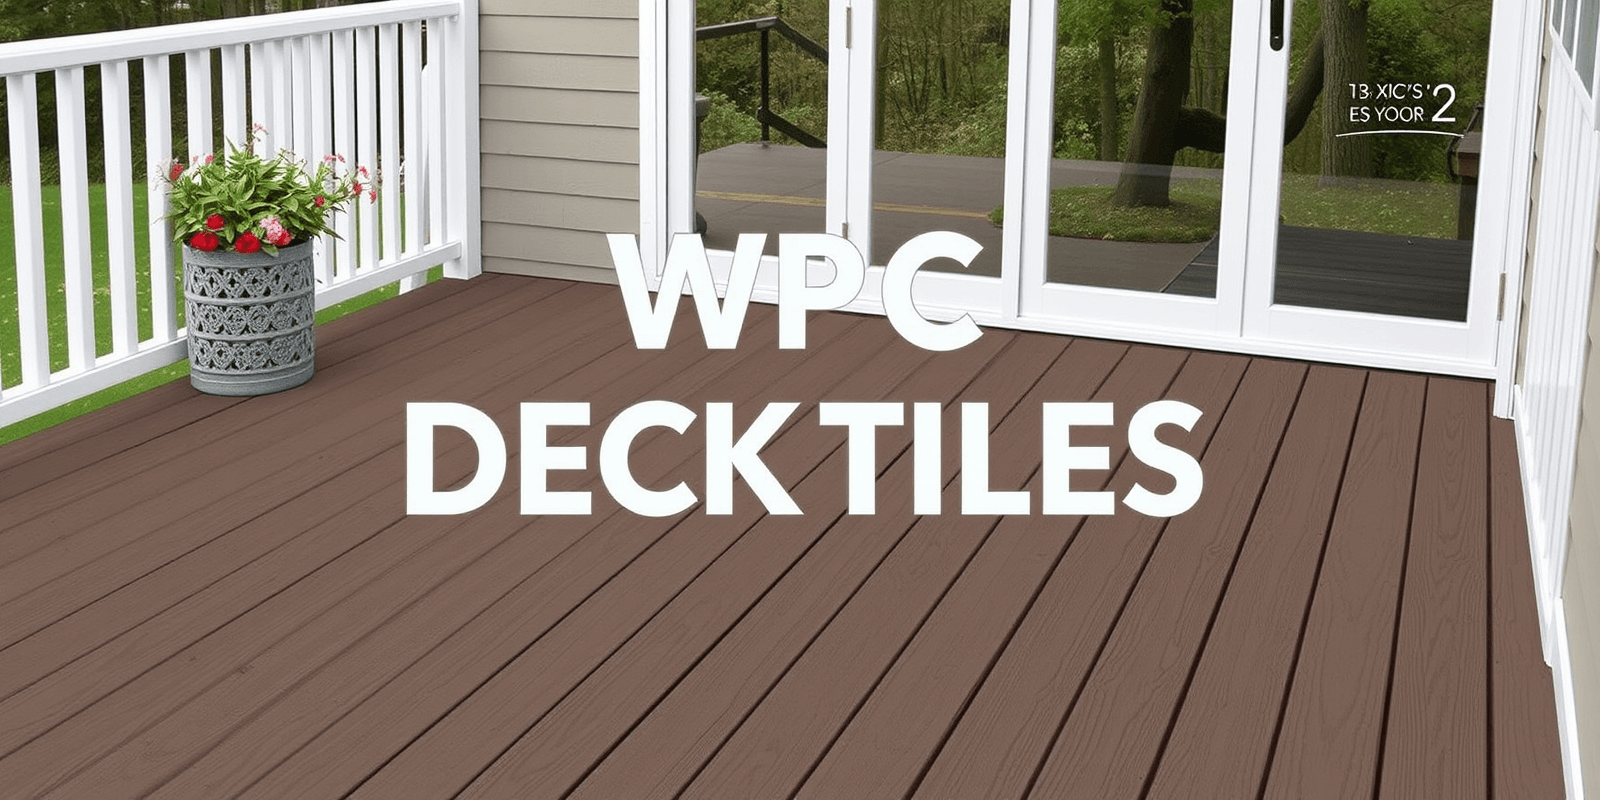
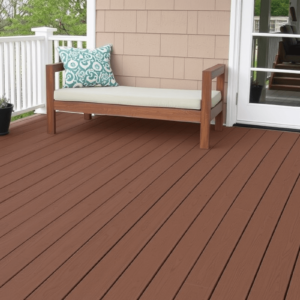
Transform Your Deck with Easy-Install WPC 2 x 1 Deck Tiles
Introduction
Welcome to your ultimate guide on how to transform your deck using WPC 2 x 1 deck tiles. These innovative composite tiles are designed to make the process of enhancing your outdoor living space both easy and enjoyable. Whether you’re a seasoned DIY enthusiast or a beginner looking to take on a new project, this article will walk you through every step of the process.
Why Choose WPC 2 x 1 Deck Tiles?
WPC (Wood Plastic Composite) 2 x 1 deck tiles offer a variety of benefits that make them an excellent choice for any homeowner. They are made from a blend of wood fibers and plastic, which means they are highly durable and resistant to moisture, rot, and insects. Unlike traditional wooden decks, these tiles require minimal maintenance and can withstand harsh weather conditions, making them perfect for year-round use. Additionally, their lightweight design makes installation a breeze, allowing you to transform your deck in no time.
Step-by-Step Guide to Installing WPC 2 x 1 Deck Tiles
- Prepare Your Deck: Before you start installing the tiles, ensure your existing deck is clean and level. Remove any debris, loose screws, or uneven boards. If necessary, sand down rough spots to create a smooth surface.
- Gather Your Tools: For a smooth installation process, gather all the tools you’ll need: a tape measure, a level, a rubber mallet, a utility knife, and safety gear like gloves and eye protection.
- Lay Out Your Tiles: Start by laying out your tiles on the deck to get a sense of the layout. You can choose to install them in a straight pattern or a more intricate design, depending on your preference. Make sure to leave a small gap between each tile for expansion and drainage.
- Secure the Tiles: Begin by securing the first row of tiles at one end of the deck. Use the rubber mallet to gently tap the tiles into place, ensuring they are snug against each other and aligned properly. Continue this process, working your way across the deck.
- Cut Tiles as Needed: Some areas may require cutting tiles to fit around obstacles such as posts or corners. Use a utility knife or a saw to cut the tiles to size. Always wear protective gear when cutting materials.
- Finishing Touches: Once all the tiles are in place, inspect your work to ensure everything is level and secure. If needed, add additional fasteners to keep the tiles in place. Finally, enjoy your newly transformed deck!
Tips for a Successful Installation
- Work in Sections: Divide your deck into manageable sections to avoid overwhelming yourself. This approach allows you to focus on one area at a time, ensuring a consistent and high-quality finish.
- Use Spacers: To maintain even gaps between tiles, use spacers during installation. This will help prevent misalignment and ensure a uniform look.
- Check for Level: Regularly check the level of your tiles as you install them. A slight tilt can cause unevenness over time, so it’s important to address this early on.
Conclusion
Transforming your deck with WPC 2 x 1 deck tiles is a straightforward and rewarding DIY project. By following the steps outlined above, you can achieve a beautiful, durable, and low-maintenance outdoor space that will enhance your home’s appeal and provide years of enjoyment. Remember, patience and attention to detail are key to a successful installation. Happy building!
“`
This HTML document provides a comprehensive guide on transforming your deck using WPC 2 x 1 deck tiles, including an introduction, detailed steps, tips, and references. It is structured to be directly publishable as a blog post.
Reviews
There are no reviews yet.